SwiftUI vs UIKit: The Transition Guide for iOS Developers (2025)
For a decade, iOS development was synonymous with UIKit. The workflow was etched into muscle memory: configuring viewDidLoad, managing addSubview, wrestling with NSLayoutConstraint, and debugging Storyboards.
Then, in 2019, Apple introduced SwiftUI with a promised utopia: "Better apps. Less code." While early versions faced growing pains, the SwiftUI of 2025 (in the iOS 18 era) is mature, robust, and undeniably the default for new projects.
However, the reality of the industry is nuanced. Huge legacy codebases still run on UIKit, and sophisticated apps often require a hybrid approach. Ideally, a modern iOS engineer needs to be fluent in both. This guide bridges the gap.
Part 1: The Paradigm Shift (Imperative vs Declarative)
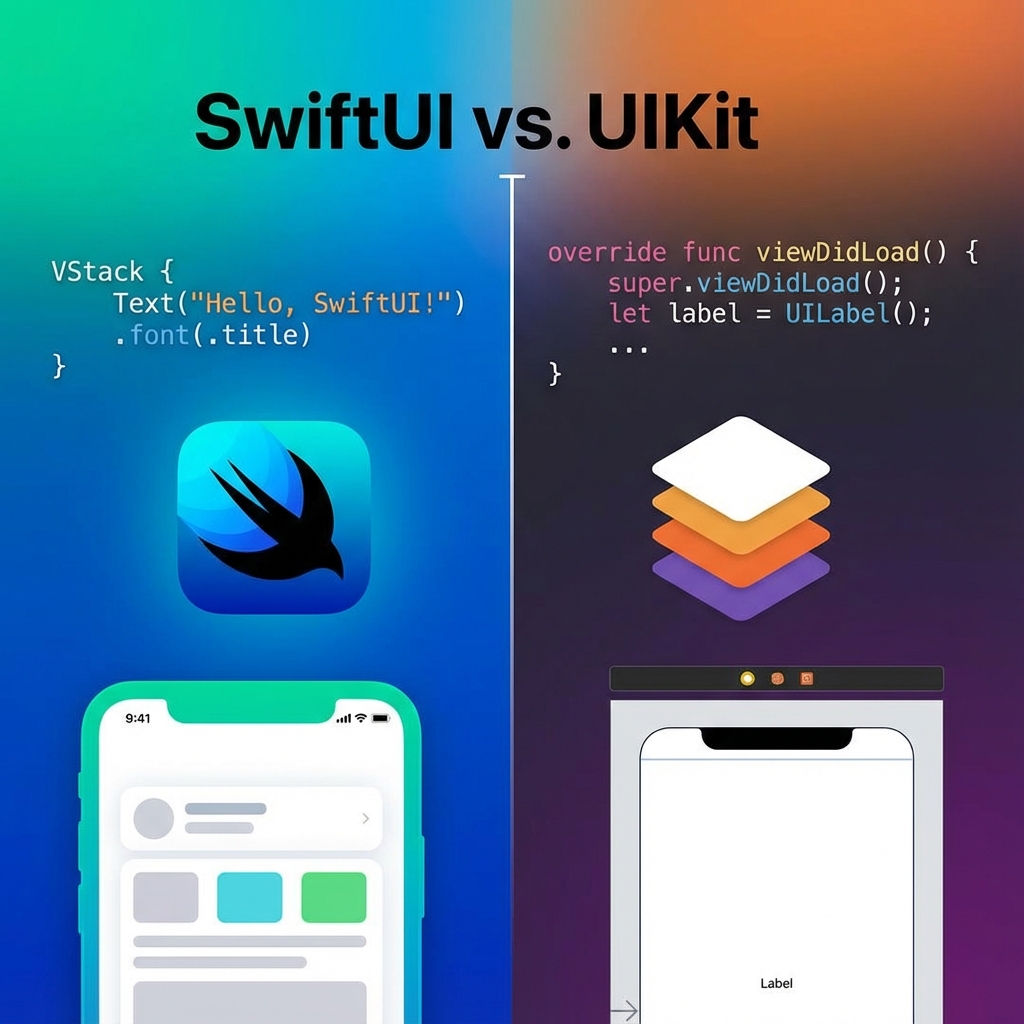
UIKit (Imperative)
You tell the system HOW to do it.
// UIKit
let label = UILabel()
label.text = "Hello"
label.textColor = .red
view.addSubview(label)

// Later, to update:
func updateText() {
    label.text = "World"
}
You manage the state of the view manually. You are responsible for keeping the UI in sync with data.
SwiftUI (Declarative)
You tell the system WHAT you want.
// SwiftUI
struct ContentView: View {
    @State var text = "Hello"

    var body: some View {
        Text(text)
            .foregroundColor(.red)
            .onTapGesture {
                text = "World"
            }
    }
}
You define the UI as a function of State.
UI = f(State).
When state changes, SwiftUI automatically rebuilds the view. You never "update" a label manually.
Part 2: State Management (The Hardest Part)
In UIKit, you used Delegates, KVO, and NotificationCenter. In SwiftUI, you use Property Wrappers.
1. @State
For local, private data owned by the View. (e.g., Is the button highlighted?).
2. @Binding
For passing write-access to a child.
Parent has @State var text. Child takes @Binding var text. Child connects to TextField. When child types, Parent updates.
3. @Observable (The Modern Way)
Introduced in iOS 17, this replaced @StateObject and @ObservedObject.
It uses Swift Macros.
@Observable class User {
    var name = "Alice"
}

struct ProfileView: View {
    var user: User // No wrapper needed!

    var body: some View {
        Text(user.name) // Automatically tracks dependency
    }
}
This is magic. It fixes the performance issues where changing "User.age" would re-render a view that only watched "User.name".
Part 3: Layout (Constraints vs Stacks)
UIKit: Auto Layout
Highly powerful system of linear equations.
"This Label's left edge is 8pts from the Container's left edge."
Pros: Infinite precision.
Cons: Verbose. NSLayoutConstraint.activate([...]).
SwiftUI: Flexbox-ish Stacks
VStack: Vertical.HStack: Horizontal.ZStack: Depth (Overlay).
VStack(spacing: 10) {
    Image("logo")
    Text("Welcome")
}
.padding()
It is 10x faster to write. It handles Dynamic Type (Text resizing) automatically.
Part 4: Interoperability (Mixing Them)
You don't have to rewrite your app.
1. SwiftUI inside UIKit (UIHostingController)
You have a UITableView. You want the cell to be SwiftUI.
let swiftUIView = MyRowView()
let hostingController = UIHostingController(rootView: swiftUIView)
// Add hostingController as child VC...
2. UIKit inside SwiftUI (UIViewRepresentable)
You need a MKMapView or a complex UITextView in SwiftUI.
struct MyMapView: UIViewRepresentable {
    func makeUIView(context: Context) -> MKMapView {
        return MKMapView()
    }
    func updateUIView(_ uiView: MKMapView, context: Context) {
        // Update map region
    }
}
Part 5: Navigation
UIKit: UINavigationController. Push/Pop using View Controllers.
SwiftUI: NavigationStack.
It is data-driven.
NavigationStack(path: $path) {
    List(users) { user in
        NavigationLink(value: user) { Text(user.name) }
    }
    .navigationDestination(for: User.self) { user in
        ProfileView(user: user)
    }
}
This API finally fixed the bugs of the old NavigationView.
Part 6: When to still use UIKit in 2025?
SwiftUI covers 95% of use cases. But UIKit is still needed for:
- Complex Text Layout:
TextKit 2. If you are building a Markdown editor. - Heavy Camera/AR:
AVCaptureSession. Generally easier to manage lifecycle in a ViewController. - Low-level drawing:
CoreAnimation/CoreGraphicsheavy usage.
Conclusion
Stop fighting it. If you are starting a new feature, write it in SwiftUI. If you are maintaining a legacy screen, leave it in UIKit until you need to rewrite it.
The mental model of "State Drives UI" is the industry standard (React, Flutter, Compose, SwiftUI). Learning SwiftUI makes you a better developer, even if you still write UIKit.